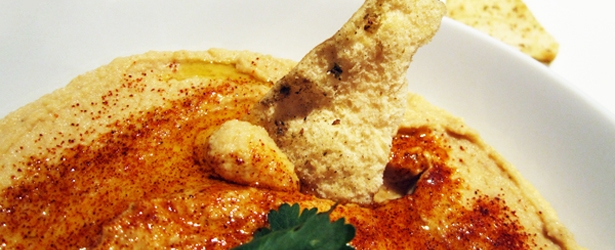
I know, I know… not another hummus recipe! A few of my friends here have asked for my humus recipe, and since I’m heading out of town for a month, I wanted to ensure that they had it before I left. I also wanted to share an awesome little trick that I’ve recently learned which results in super-smooth hummus. So hopefully there’s a little something for everyone in this post. And hey, I guess every vegan food blog needs a basic hummus recipe, right?
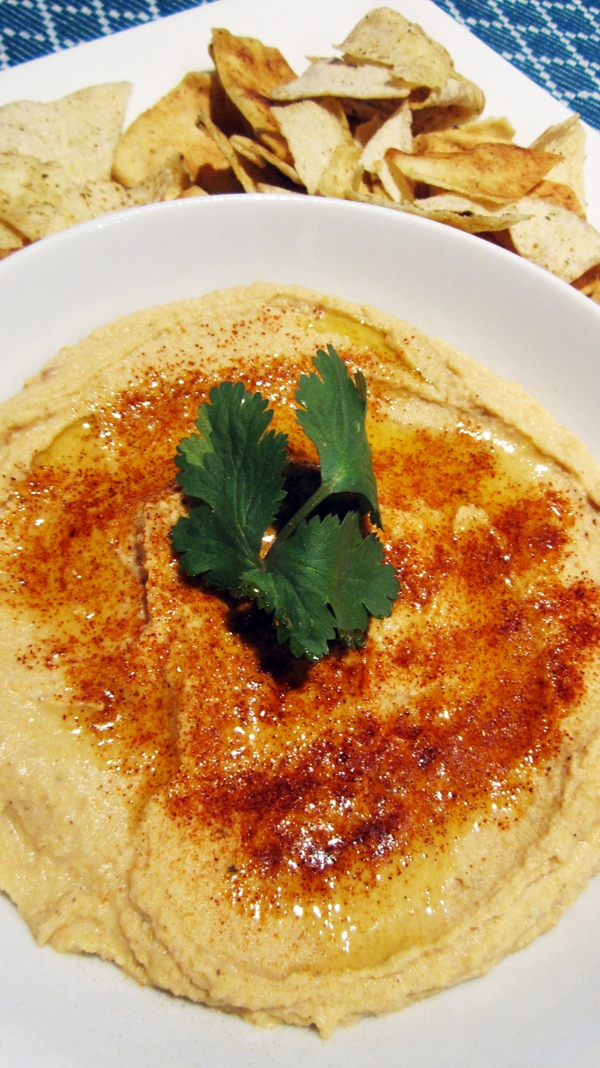
The only reason why I used to *somewhat* prefer store bought hummus was the amazing creaminess of it. I just figured that my cheap little food processor couldn’t get the hummus as smooth as industrial machines could. But then I came across Kristina’s post about peeling your chickpeas and ever since then, it’s been smooth-hummus-city in this house!
As per Kristina:
Pour them into a strainer and rinse. As you are rinsing, pick one up and squeeze it with your fingers, the skin comes off and the pea flies back into the strainer with the others…
Here are a few photos to show you how it’s done:
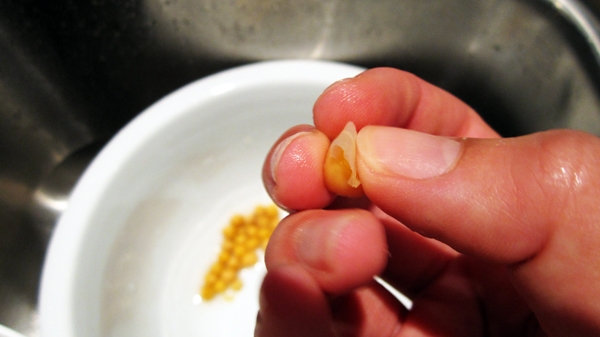
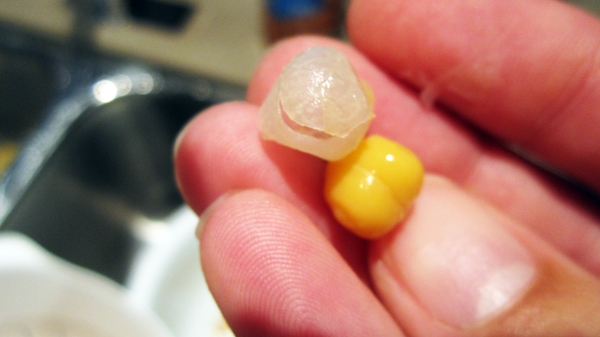
If you want the absolute smoothest hummus, you should do this for each chickpea. As Kristina says, it’s meditative. However, if you’re in a hurry, or not feeling particularly zen-like, then here’s my short-cut:
- Toss the chickpeas in a big bowl filled half-way with water.
- Rub the chickpeas between both hands (this was difficult to photograph and do at the same time – so here’s my one-handed version!)
- The peels should rise to the water’s surface. Skim them off and rinse the chickpeas.
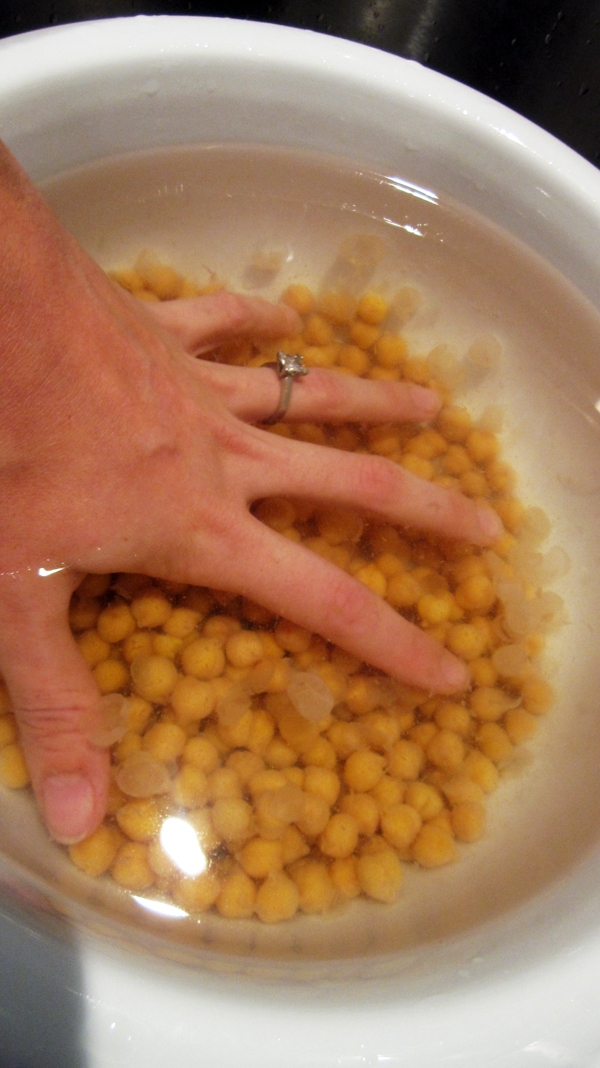
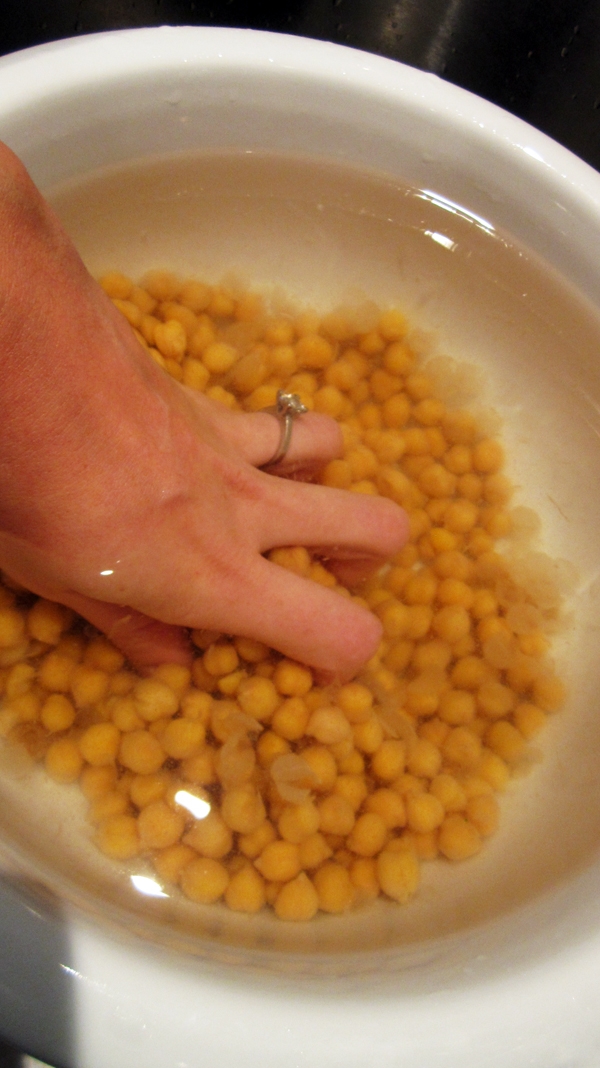
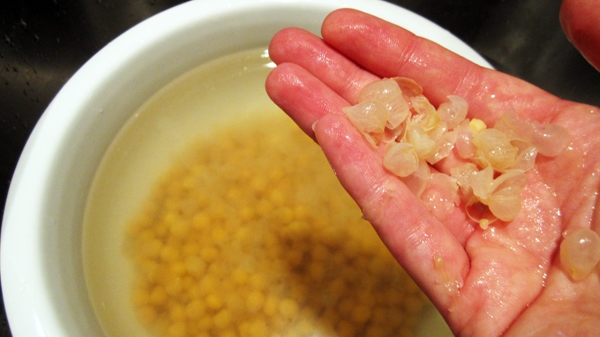
By my rough accounts (and depending how long you do it), you should be able to remove about half of the peels in this way. Your hummus won’t be as smooth as peeling each chickpea individually – but it will still be a lot smoother than not doing it at all.
Thanks Kristina for sharing your chickpea-peeling tip!
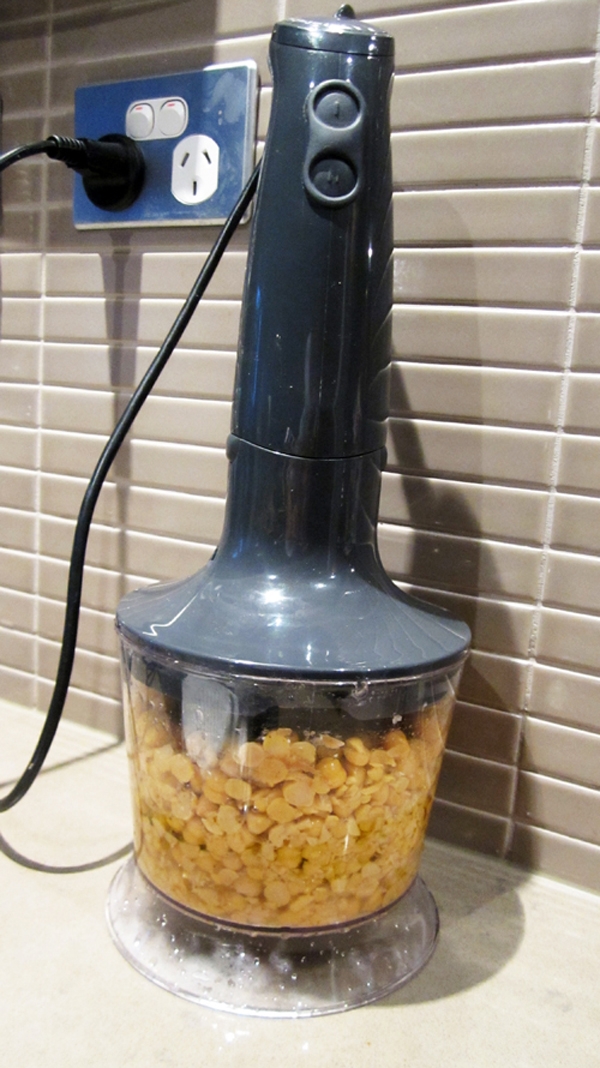
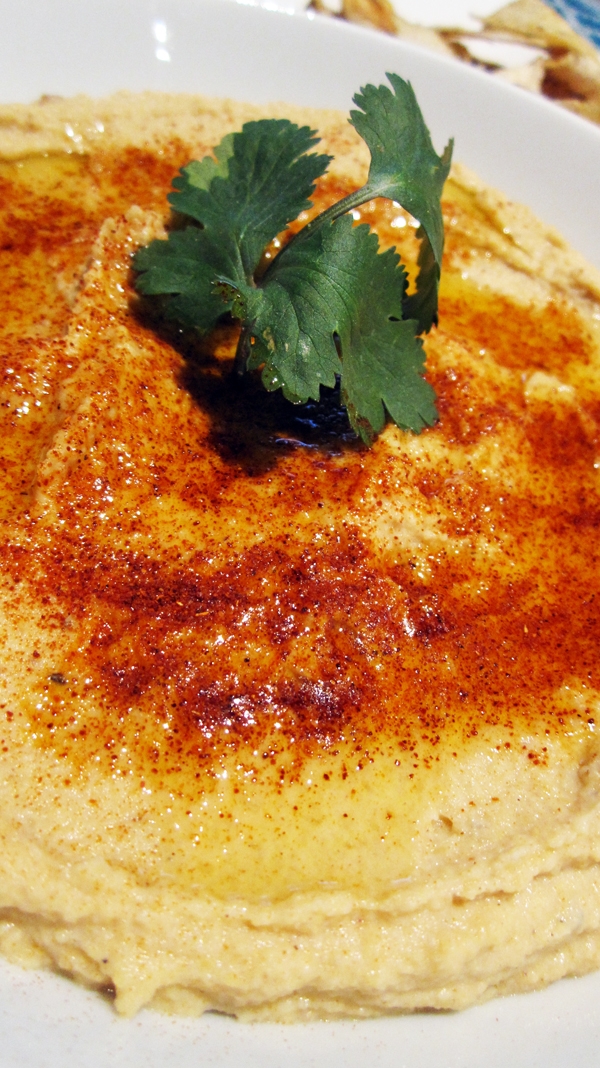
Notes — Basic Hummus Recipe
- I pretty much always use canned chickpeas because I’m bad at planning ahead but you could certainly use dry ones that you soak and cook yourself.
- I love tahini so I like to use a lot in my hummus, but if you don’t like it or are all out and don’t feel like running out to buy more, feel-free to leave it out.
- This recipe is very versatile. Make it as-is, or toss other things in there. Here are some ingredients I often add to this recipe:
- Fresh chives
- Roasted red peppers
- Sun-dried tomatoes
- Roasted garlic
- Fresh lemon zest (halve the lemon juice if you use this)
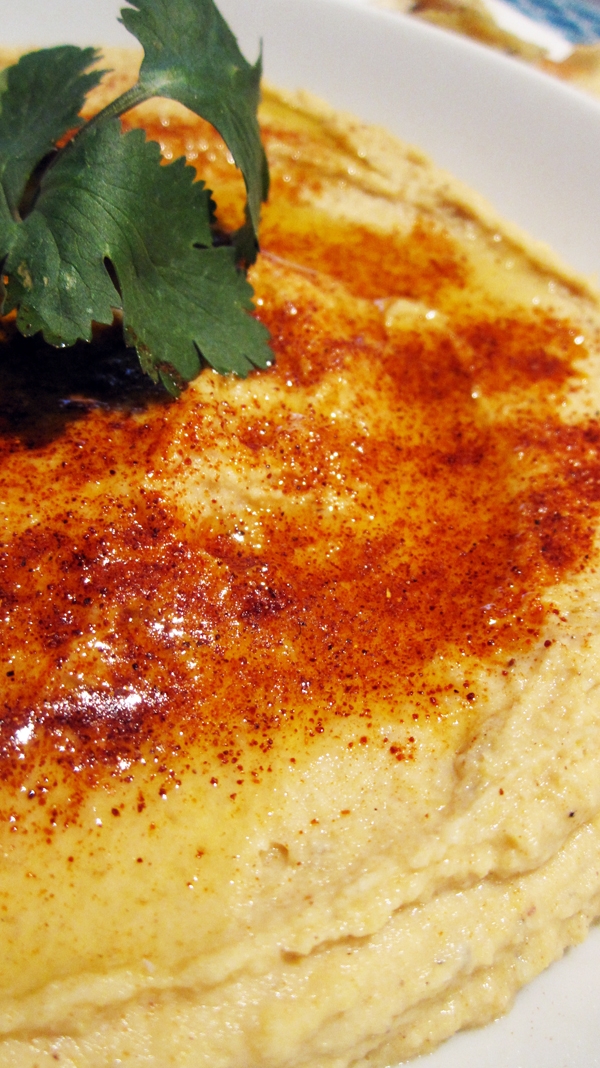
So, if you love hummus and are still buying the store-bought stuff, I urge you to try and make your own. The cost difference alone should be reason enough (easily 1/2 to 1/3 the price — and even less if you use dried chickpeas).
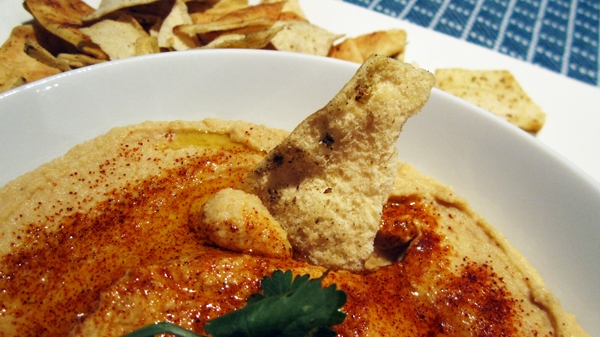
Looking for more dips & spreads?
PrintBasic Hummus
This basic hummus recipe will save you so much money, and with time, you’ll be coming up with your own flavor combinations. Vegan / Gluten-Free
- Prep Time: 10 mins
- Total Time: 10 mins
- Yield: 4-6 1x
- Category: Dip, Spread, Appetizer, Starter, Snack
- Cuisine: Middle Eastern, Vegan
Ingredients
- 1 can chickpeas (garbanzo beans), washed and drained
- 1/2 lemon, juiced
- 1 clove garlic, minced
- 2 or 3 heaping tablespoons tahini (depending how much you like it)
- 3 tbsp olive oil
- 3 tbsp water, plus more if needed
- 1/2 tsp cumin
- salt & pepper, to taste
- Smoked paprika (optional)
Instructions
- Place everything in a food processor and blend until smooth. Add additional water if needed. If desired, sprinkle with paprika and drizzle with additional olive oil before serving.
Keywords: bean, chickpea, DIY, easy, favorite, food processor, gluten-free, high-protein, kid-friendly, no-cook, nut-free, one-pot, original, soy-free, tapas, under 30 minutes, vegan, hummus
